Astrophotography for beginners starts with three things: a dark sky, a steady camera and the right exposure time. This guide explains each one and gives sources for the figures that matter.
A single night under a dark sky can change how you see photography. The Milky Way, a meteor or an aurora can appear on the back of your camera in seconds. However, the first attempts are often disappointing: stars become streaks, the image is blurry and the sky looks grey. Most of those problems have simple causes, and this guide shows how to avoid them without expensive equipment.

Astrophotography for Beginners: What You Actually Need
You need less than many guides suggest. First, choose a camera with manual mode and RAW files, ideally with interchangeable lenses. Second, add a wide, fast lens. An aperture of f/2.8 or wider gathers more light, and a wide angle lets you keep the exposure short. Old manual lenses can also work well; our piece on vintage glass explains their character.
Third, bring a sturdy tripod, because any movement ruins a long exposure. A remote release or the camera’s two-second timer avoids shake when you press the button. Finally, pack a headlamp with a red light, spare batteries and warm clothes, since cold air drains batteries quickly. NASA’s stargazing guidance explains the red light: car headlights and phone screens can temporarily ruin night vision, and red light is recommended because white light constricts the pupils1.
Finding a Dark Sky: Light Pollution and the Bortle Scale
Dark skies are now rare. A 2016 study built a world atlas of artificial night sky brightness from satellite data and more than 35,000 ground observations. It found that more than 80% of the world’s population, and more than 99% of people in the United States and Europe, live under light-polluted skies. The Milky Way is hidden from more than one-third of humanity, including about 60% of Europeans and nearly 80% of North Americans.2
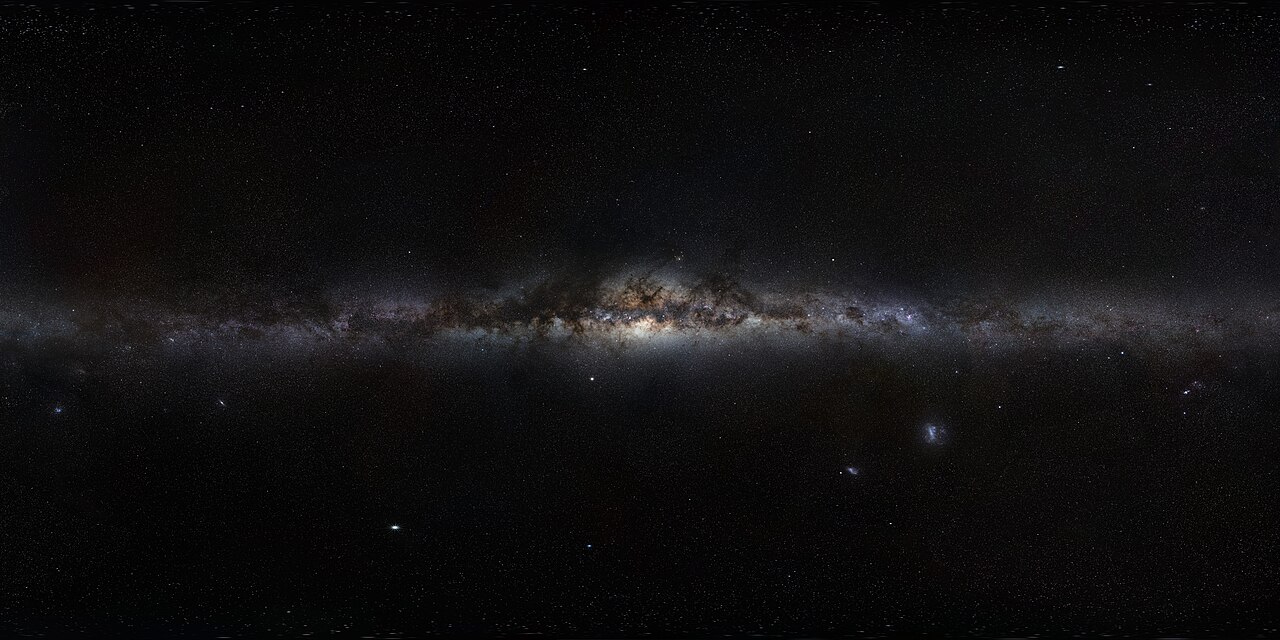

To judge a site, use the Bortle scale. John Bortle introduced it in Sky & Telescope in February 2001. At Class 1, an excellent dark-sky site, the Milky Way casts obvious shadows on the ground. In a Class 3 rural sky, it is still impressive but lacks most of the finer details. Under a Class 5 suburban sky, it is very weak or invisible near the horizon, and by Class 7 it is invisible.3 As a practical goal, aim for Class 3 or darker when you want detail in the Milky Way. Online light-pollution maps based on satellite data help you find such places, and the work of DarkSky International explains how to protect them.
Timing: Season, Moon and Weather
In the Northern Hemisphere, the bright core of the Milky Way is generally visible from spring to early autumn, and summer gives the longest windows. Plan around the Moon as well. Moonlight brightens the sky and lowers contrast, so choose nights near the new Moon, or hours when the Moon is below the horizon. Check the cloud forecast before you drive, since clear skies matter more than anything else. These planning habits matter most in astrophotography for beginners, because a wasted trip is the costliest mistake.
Planning Astrophotography for Beginners with Apps and Calendars
A planetarium app saves wasted trips. Stellarium describes itself as a free open source planetarium that shows a realistic sky in 3D, with desktop versions and a browser version4. PhotoPills is another popular planner, and it also publishes an NPF calculator, which the exposure section below describes. Use either app to see where the Milky Way and the Moon will be before you leave home.
Moonlight matters more than many beginners expect. NASA notes that moonlight in a dark-sky area is “as bright as a streetlight”, and advises avoiding the Moon for faint targets5. Meanwhile, the Milky Way season depends on your latitude, and photography guides disagree slightly on the months. One guide gives February to October in the Northern Hemisphere and January to November in the Southern Hemisphere6. Therefore, check your own sky in Stellarium.
Meteor showers give a second reason to go out. As of 9 November 2026, the American Meteor Society lists the Leonids peaking on the night of 16 to 17 November, with the Moon 39% illuminated. It lists the Geminids on 13 to 14 December, with the Moon only 15% illuminated, and the Quadrantids on 3 to 4 January 20277. A fainter Moon is the better case for fainter meteors.
Dark Sky Places for Astrophotography for Beginners
Certified places can shorten your search. DarkSky International certifies several types of place: parks, reserves, sanctuaries, communities and urban night sky places. A park is land with exceptional night skies that is specifically protected, whereas a sanctuary is usually remote with few nearby threats8. NASA’s guide gives two reference points on the Bortle scale: New York City is a Bortle 9, and Cherry Springs State Park in Pennsylvania is a Bortle 29.
You can also measure a site. A review in Nature Astronomy surveys how night sky brightness is measured and monitored10. Another review concluded that calibrated consumer cameras with fisheye lenses give the best balance of ease and information, while single-band devices such as the Sky Quality Meter suit long-term studies11. For a beginner, a Bortle estimate from a map is enough.
Astrophotography for Beginners: Camera Settings That Work
Aperture and ISO
Open the lens to its widest aperture. Then set the ISO to about 1600 or 3200 as a starting point, and adjust after a test shot. Modern sensors handle high ISO well, so a little noise is a fair price for a brighter sky. In other words, do not be afraid of the ISO dial. Jerry Lodriguss, writing about long-exposure deep-sky work, suggests 400 to 1,600 depending on the temperature12, so treat 1600 to 3200 as a nightscape starting point, not a rule.
Shutter Speed: the 500 Rule and the NPF Rule
The Earth rotates, so stars move across the frame and turn into short trails during long exposures. The classic “500 rule” divides 500 by the lens’s full-frame focal length to estimate the longest exposure in seconds. A 24 mm lens therefore suggests about 20.8 seconds. However, the rule dates from the film era and ignores pixel density and aperture.13
The NPF rule is more precise. Its simplified form is (35 × aperture + 30 × pixel pitch in micrometres) ÷ focal length. With a 24 mm lens at f/2.8 and a pixel pitch of 5 micrometres, it gives about 10.3 seconds. That is half the 500-rule value, and it matters on a high-resolution sensor. Treat any rule as a starting point, then zoom in to 100% on a test shot and shorten the exposure if stars look like commas.
The rule has a creator and extra variables. Frédéric Michaud devised it for the Société Astronomique du Havre. The simplified form uses aperture, pixel pitch and focal length, while the full version also accounts for the star’s declination, because stars near the celestial equator trail the most14. If you are unsure of the declination, PhotoPills suggests entering 0°, the worst case. Its Accurate setting gives a much shorter exposure, which forces a higher ISO and noisier files15. Consequently, no formula guarantees pinpoint stars, and the test shot remains the final judge.
Focus
Focus is the make-or-break skill. Switch to manual focus and use live view. Magnify a bright star or a distant light, and turn the ring until the point is as small as possible. Then take a test frame and check it at full size. Turn off image stabilisation on a tripod, and do not touch the focus ring afterwards.
RAW, Noise Reduction and Dark Frames in Astrophotography for Beginners
Lodriguss calls RAW unquestionably the best format for astronomical work, because it keeps the linear, high-bit-depth sensor data. He still suggests that beginners may shoot JPEGs to get started, or RAW and JPEG together16. Long-exposure noise reduction needs a warning. The camera takes a dark frame of the same length after each shot, so it roughly doubles the time per picture. Canon’s R5 Mark II manual agrees that the processing may take as long as the exposure itself17.
For stacking, Lodriguss advises shooting your own dark frames and turning the in-camera setting off18. A dark frame records the camera’s thermal signal and bias current, and subtracting it removes them. Flat fields correct vignetting, dust on the sensor cover glass and uneven illumination. Moreover, averaging several light frames improves the signal-to-noise ratio19. Stacking therefore reduces noise, but it cannot repair poor focus.
Composition in Astrophotography for Beginners: Give the Sky a Place
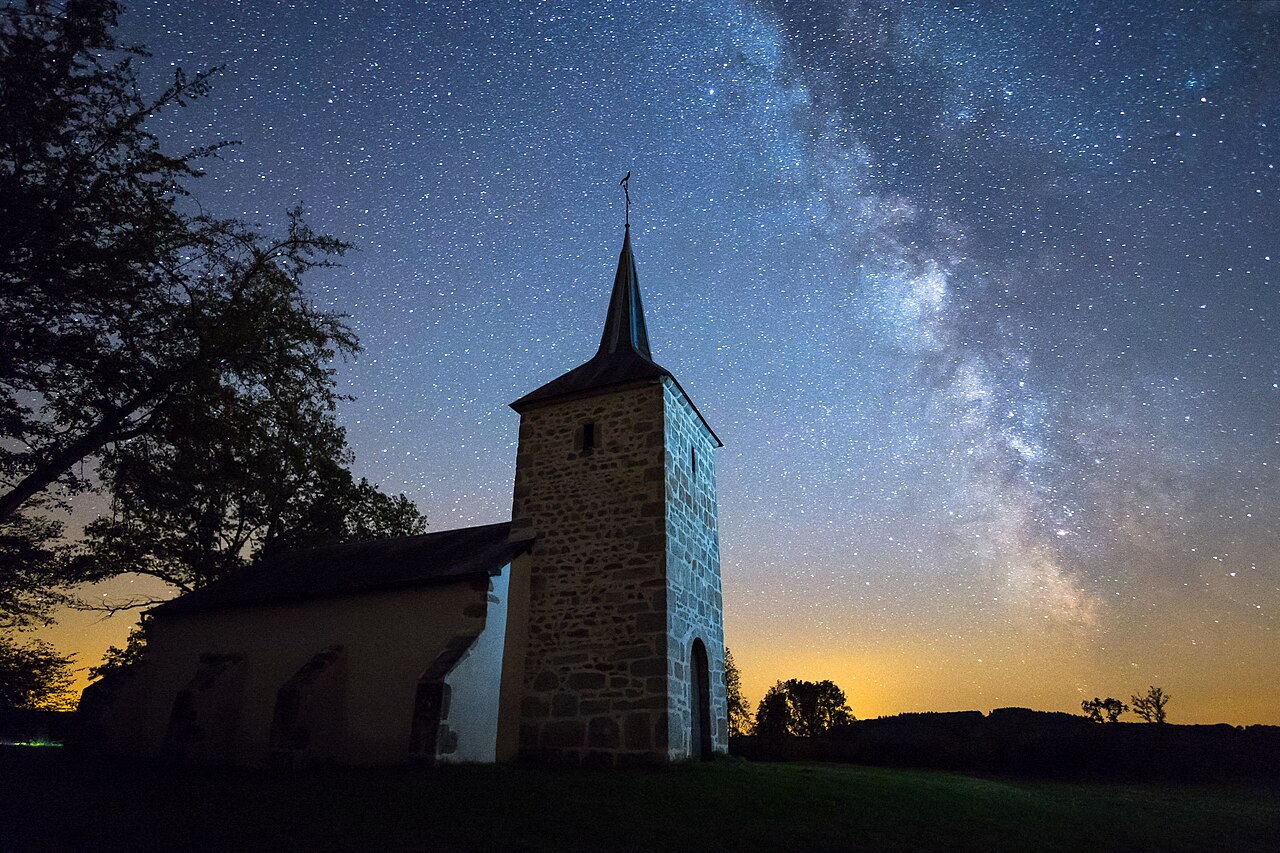
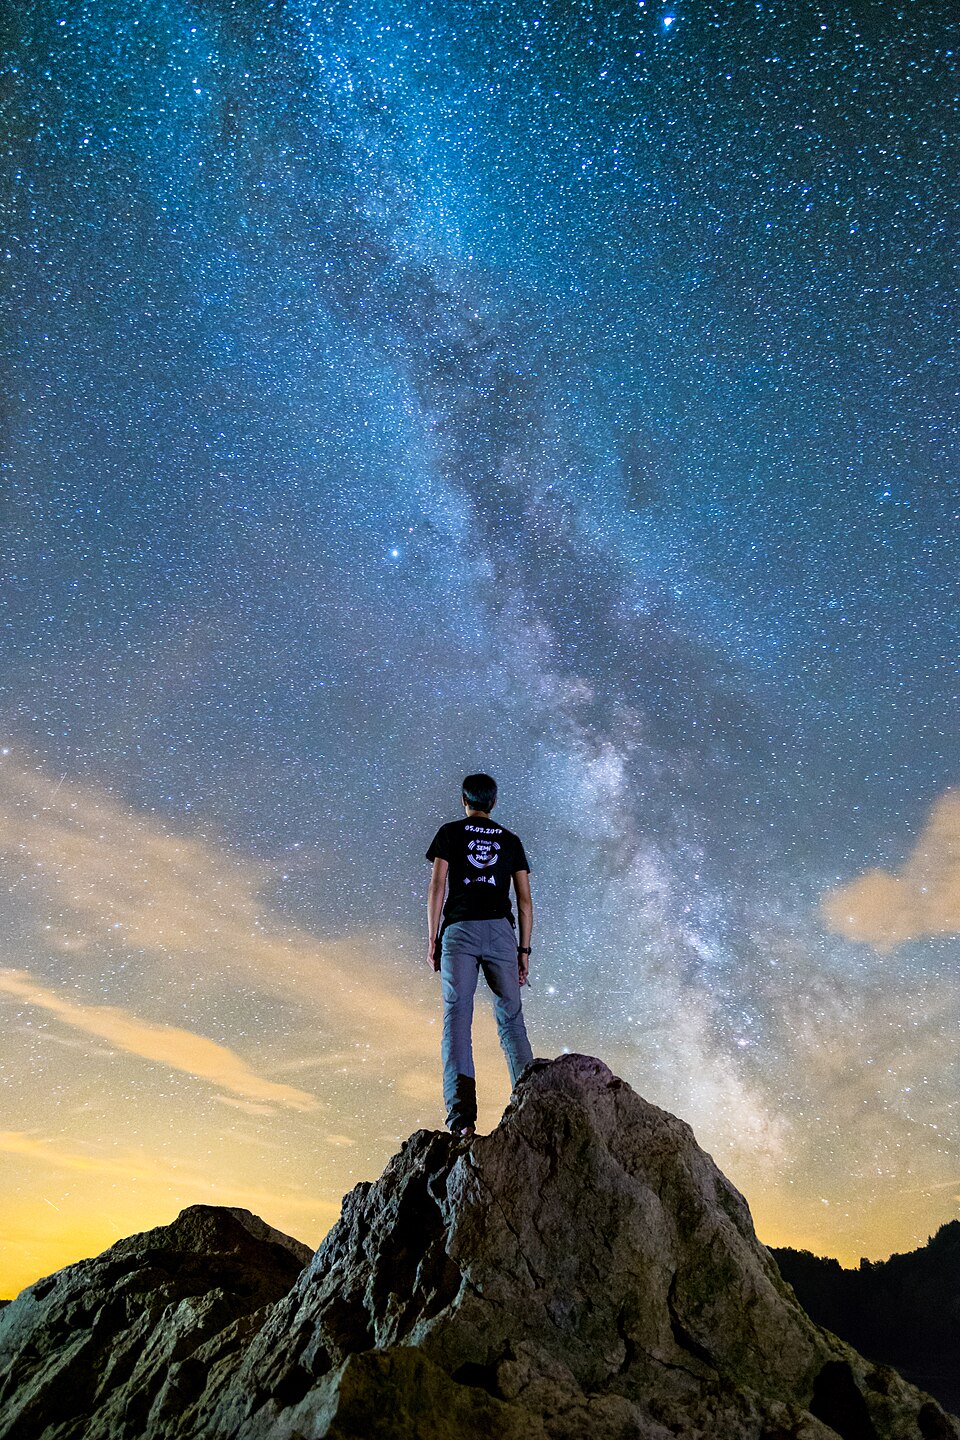
A sky alone is rarely memorable. Instead, include a foreground such as a chapel, a tree or a lake, so that the image has scale and a story. Scout the location in daylight, and decide where the Milky Way will arch before it is dark. A person in the frame adds scale as well, as the picture below shows. Above all, keep the horizon level and leave room for the sky.

Star Trails and Stacking
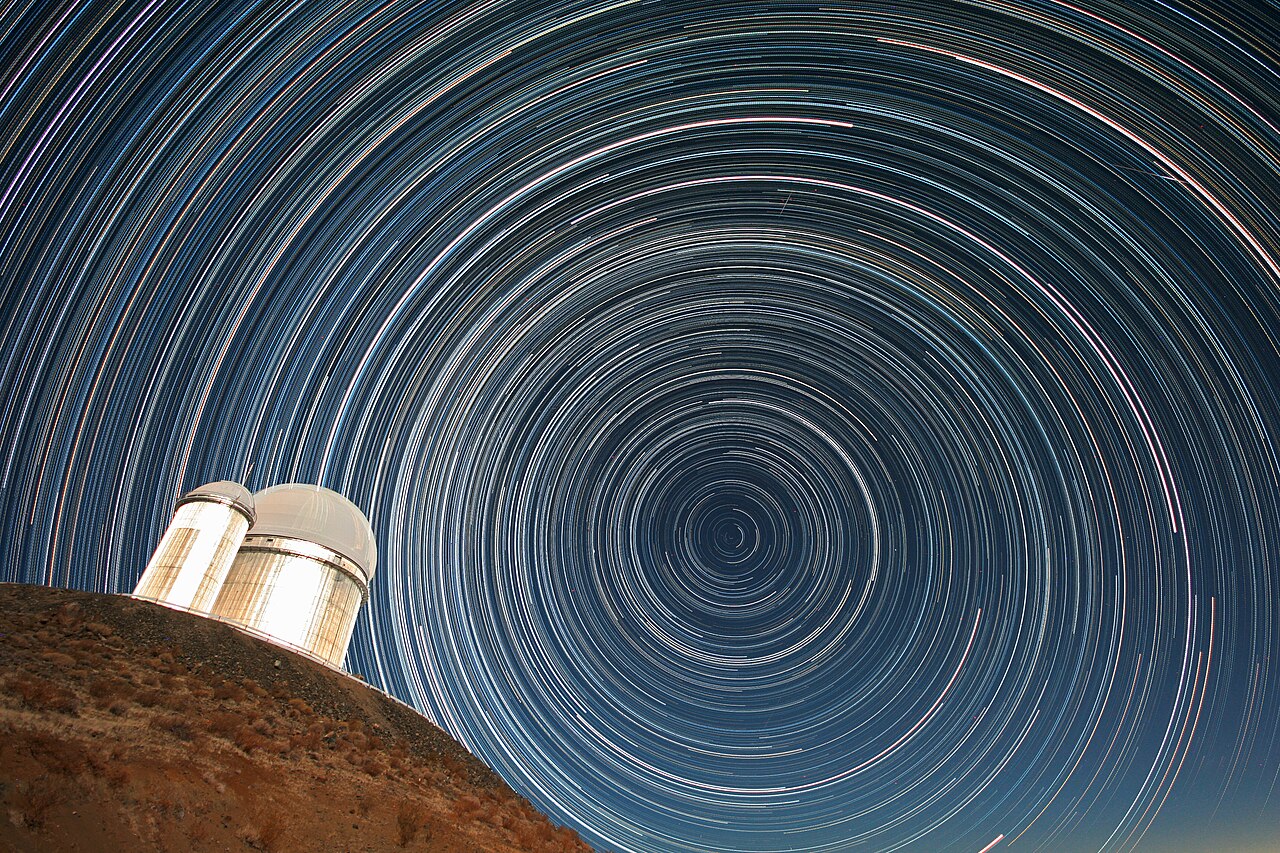
Stacking means combining many frames. For star trails, shoot dozens of exposures of 20 to 30 seconds with the same settings, then merge them so that the stars draw circles around the celestial pole. For a sharper Milky Way, stack aligned frames instead; the stack reduces noise because random noise differs from frame to frame while the stars stay in place.

Stacking sounds advanced, yet astrophotography for beginners can include it from the first night. Free software can do this. Siril calibrates, aligns and stacks images, and DeepSkyStacker and Sequator are other free options. Whichever you pick, shoot RAW and keep every frame until the final result is checked.
Aurora Photography as the Solar Cycle Declines
On 15 October 2024, NASA, NOAA and the international Solar Cycle Prediction Panel announced that the Sun had reached the solar maximum period of Solar Cycle 25. They expected this phase to last about another year before the declining phase. They also warned that the month of the peak would only be identified months or years later.20 NASA’s forecast table for the rest of the cycle projects a falling smoothed sunspot number through 2026, with a median near 104 in January 2026.21
Auroras therefore remain possible, but less often. The same announcement notes that significant storms can also occur in the declining phase, though less often. The May 2024 storm showed what is possible: NASA reported a G5 geomagnetic storm, the strongest to reach Earth in two decades, with auroras seen as far south as the southern United States and northern India.22
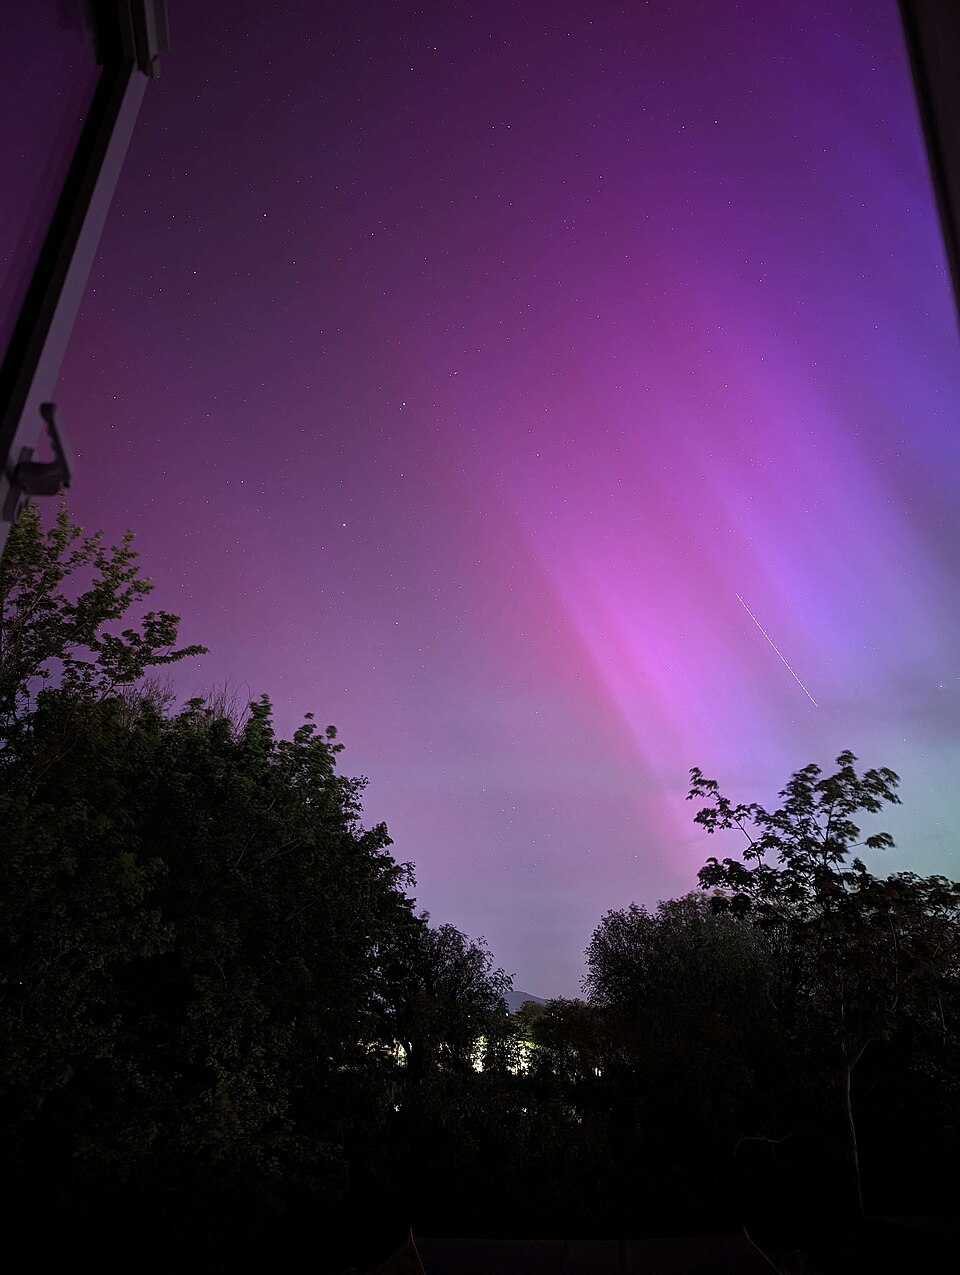

Use the forecasts from NOAA’s Space Weather Prediction Center and go out when a storm is predicted. For aurora, use a wide aperture, an ISO around 800 to 3200 and an exposure of a few seconds, because the light moves faster than the stars. Then adjust to the brightness you see.
Editing Astrophotography for Beginners: Your First Night Sky Photos
Editing is where astrophotography for beginners often goes wrong, so work slowly. Open the RAW file and start with white balance, then exposure and contrast. Lift the shadows a little, add gentle noise reduction and avoid heavy sharpening. Local adjustments help the Milky Way stand out without brightening the whole sky; the method behind layers and masks is useful here. Finally, resist over-processing, since oversaturated colours and halos around stars are the most common beginner mistake.
Common Mistakes in Astrophotography for Beginners
Most failures come from a short list. Soft focus tops it, so check your test shot at full size. Next comes a forgotten image stabiliser or a loose tripod. Cold drains batteries and fogs lenses, so carry spares and keep the lens warm. Shooting only the sky leaves the picture without a story, and over-processing destroys natural colour. Fix these five habits and your results will improve quickly.
Astrophotography for Beginners FAQs
What camera do I need for astrophotography for beginners?
Any camera with manual mode and RAW files will do, ideally with a wide, fast lens and a sturdy tripod. See the equipment section above.
What is the 500 rule, and what is the NPF rule?
The 500 rule divides 500 by the focal length to estimate the longest sharp exposure. The NPF rule adds aperture, pixel pitch and declination, so it is more precise. Either way, check a test shot at 100%.
Why are my Milky Way photos noisy?
Short exposures and high ISO make noise visible. Stacking several aligned frames improves the signal-to-noise ratio23, and RAW files give you more room in editing.
When is the best time to photograph the Milky Way?
Choose a moonless or low-Moon night, a dark site and clear weather. The season depends on your latitude, so use a planning app. See the planning section above.
Can I photograph the aurora as a beginner?
Yes, when a storm is forecast. Use a wide aperture and short exposures, because the light moves faster than the stars. Auroras are less frequent as the solar cycle declines.
Conclusion: Astrophotography for Beginners Made Simple
Astrophotography for beginners comes down to patience and preparation. Find the darkest sky you can reach, use a wide and fast lens, set your exposure with the NPF rule, and include a foreground. As the solar cycle declines, the Milky Way and the stars remain reliable subjects, and an aurora is a welcome bonus when the forecast allows it.
Sources and Limits
We did not retrieve several sources, so this article does not cover them. They include Michaud’s original NPF page, NOAA’s aurora forecast products, the current DarkSky certification criteria, manufacturer manuals beyond one Canon model, and any peer-reviewed study of light-pollution filters. We also did not cover smartphone astrophotography, tracked deep-sky imaging, lens coma, dew control or planets, so treat this guide as an introduction to untracked night-sky photography.
The research papers above rest on summaries, and the DOI checks confirm only that the papers exist. In addition, the Milky Way months come from a photography blog, and the meteor dates reflect the calendar as of 9 November 2026. We did not inspect competing guides.
- NASA Night Sky Network, “Stargazing for Beginners”, May 2024. (NASA)
- Falchi, F., Cinzano, P., Duriscoe, D., Kyba, C. C. M., Elvidge, C. D., Baugh, K., Portnov, B. A., Rybnikova, N. A., & Furgoni, R. (2016). The new world atlas of artificial night sky brightness. Science Advances, 2(6), e1600377. https://doi.org/10.1126/sciadv.1600377. The percentages for Europeans and North Americans are those reported in the study’s summary.
- Bortle, J. E. (2001). The Bortle Dark-Sky Scale. Sky & Telescope, February 2001. A copy of the table is available at https://winapps.umt.edu/winapps/media2/wilderness/toolboxes/documents/night/Bortle%20Dark-Sky%20Scale.pdf.
- Stellarium, project home page. (Stellarium)
- NASA Night Sky Network, “Stargazing for Beginners”. (NASA)
- AstroBackyard, “Milky Way Photography Calendar”. This is a photography blog, not an almanac, so confirm the dates for your latitude in a planning app. (AstroBackyard)
- American Meteor Society, “Meteor Shower Calendar 2026–2027”. (AMS)
- DarkSky International, “Dark Sky Place types”. (DarkSky)
- NASA Night Sky Network, “Stargazing for Beginners”. (NASA)
- Barentine, J. C. (2022). Night sky brightness measurement, quality assessment and monitoring. Nature Astronomy, 6(10), 1120–1132. DOI verified in Crossref; we read a summary only. (DOI)
- Hänel, A., et al. (2018). Measuring night sky brightness: methods and challenges. Journal of Quantitative Spectroscopy and Radiative Transfer, 205, 278–290. DOI verified in Crossref; we read a summary only. (DOI)
- Lodriguss, “DSLR Camera Settings for Astrophotography”. (Lodriguss)
- PetaPixel, “The NPF Rule: A Formula for Sharp Star Photos Every Time,” 7 April 2017: https://petapixel.com/2017/04/07/npf-rule-formula-sharp-star-photos-every-time. The article gives the formula and notes its assumptions.
- Light Stalking, “NPF Rule”. This is a secondary source, and we did not retrieve Michaud’s original page. (Light Stalking)
- PhotoPills, “Update PhotoPills now and avoid trails in your Milky Way photos”. PhotoPills is a vendor of the calculator. (PhotoPills)
- Lodriguss, “DSLR Camera Settings for Astrophotography”. (Lodriguss)
- Canon, EOS R5 Mark II manual, “Long Exposure Noise Reduction”. (Canon)
- Same Lodriguss page. (Lodriguss)
- Lodriguss, “Image calibration”, Beginner’s Guide to DSLR Astrophotography. (Lodriguss)
- NASA, “NASA, NOAA: Sun Reaches Maximum Phase in 11-Year Solar Cycle,” 15 October 2024: https://science.nasa.gov/science-research/heliophysics/nasa-noaa-sun-reaches-maximum-phase-in-11-year-solar-cycle/.
- NASA Marshall Space Flight Center, “Estimates of 13-month smooth solar activity for balance of Cycle 25,” July 2026 table: https://www.nasa.gov/wp-content/uploads/2026/07/jul2026ssn-prd.txt. This is a forecast, not an observation.
- NASA, “How NASA Tracked the Most Intense Solar Storm in Decades”: https://science.nasa.gov/science-research/heliophysics/how-nasa-tracked-the-most-intense-solar-storm-in-decades/.
- Lodriguss, “Image calibration”. (Lodriguss)