Landscape photography settings decide whether a mountain looks sharp or soft, whether the light is usable, and whether a long walk ends safely. This field guide covers exposure, focus, filters, support, weather and ethics, and it states plainly where my sources stop.
I built this article from named sources: Canon’s user manuals and support pages, the filter makers and retailers LEE and B&H, the US National Weather Service, the North American Nature Photography Association (NANPA), Leave No Trace and the US National Park Service. For the history and theory of the genre, read our long essay on landscape photography.
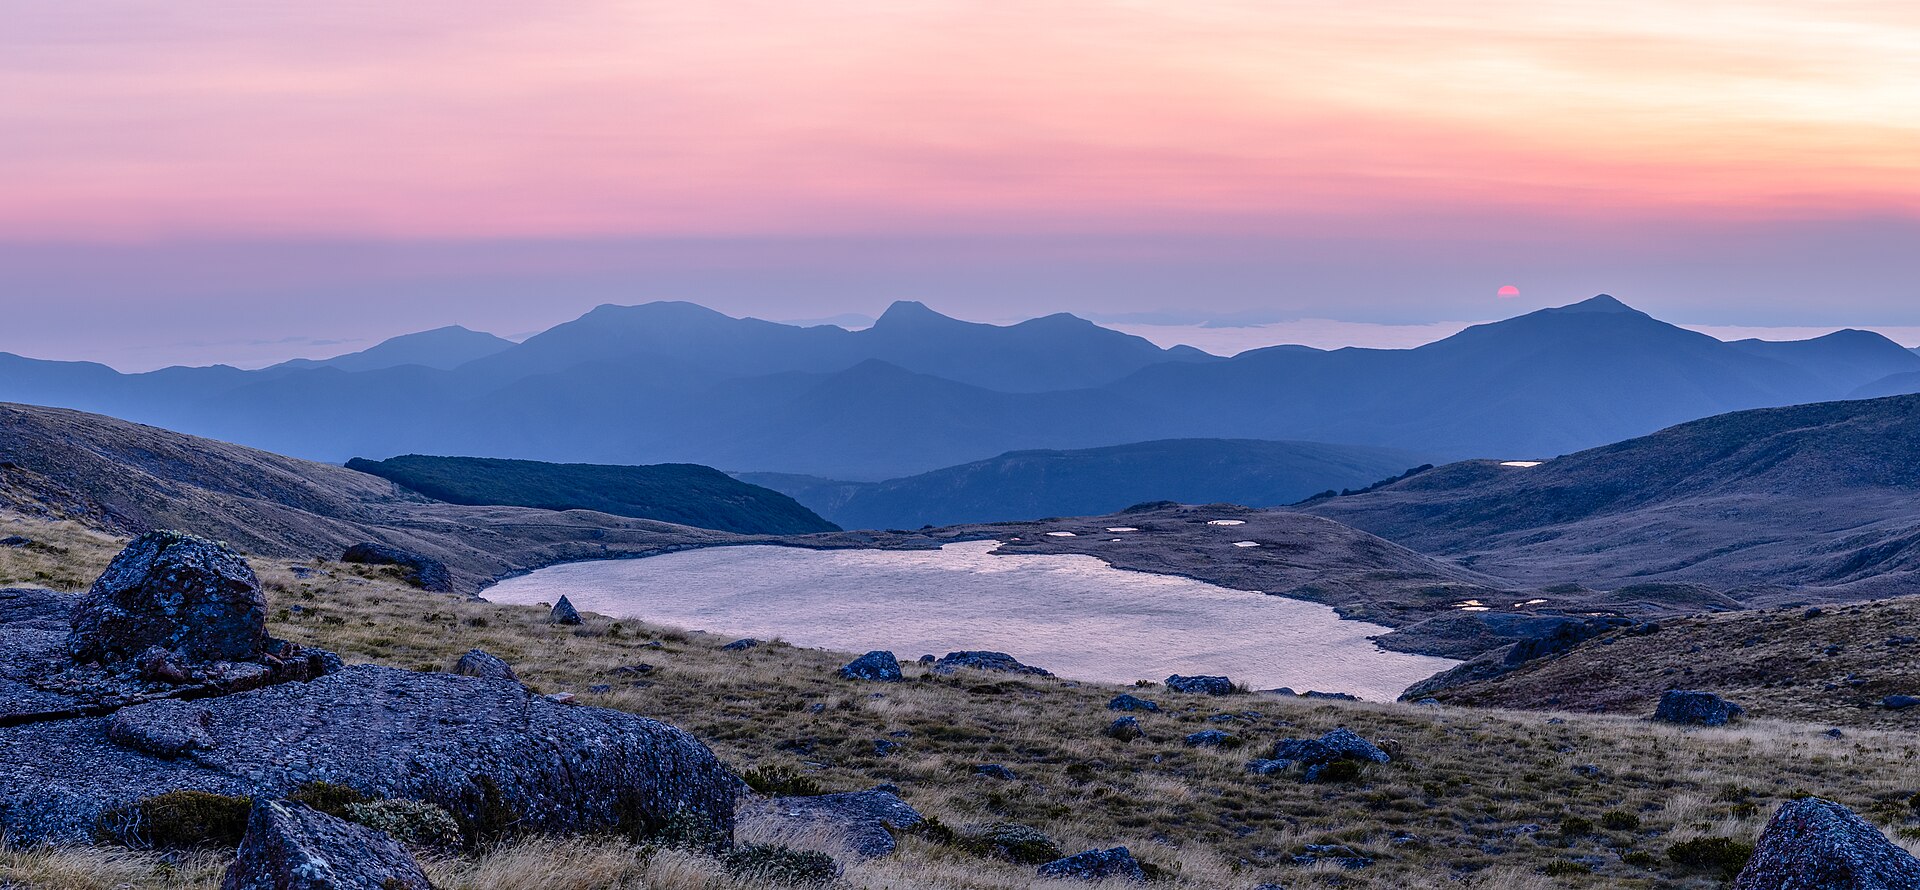

Landscape photography settings start with light
The National Weather Service office in Sioux Falls defines three kinds of twilight by the sun’s angle below the horizon. In civil twilight the sun is up to 6° below the horizon, and the horizon and nearby objects stay visible. In nautical twilight, at 12°, the horizon is still visible on moonless nights, but detailed outdoor work usually needs artificial light. At 18° the sky is astronomical dark1.
Photographers use looser words, such as golden hour and blue hour. However, the NWS page I read does not define them, and I did not find an official definition. Therefore, treat them as habits and check the sun angle for your own date and place. The practical point is simple: morning civil twilight lasts until sunrise2, so you must be in place before the sun is up, and a tripod then helps.
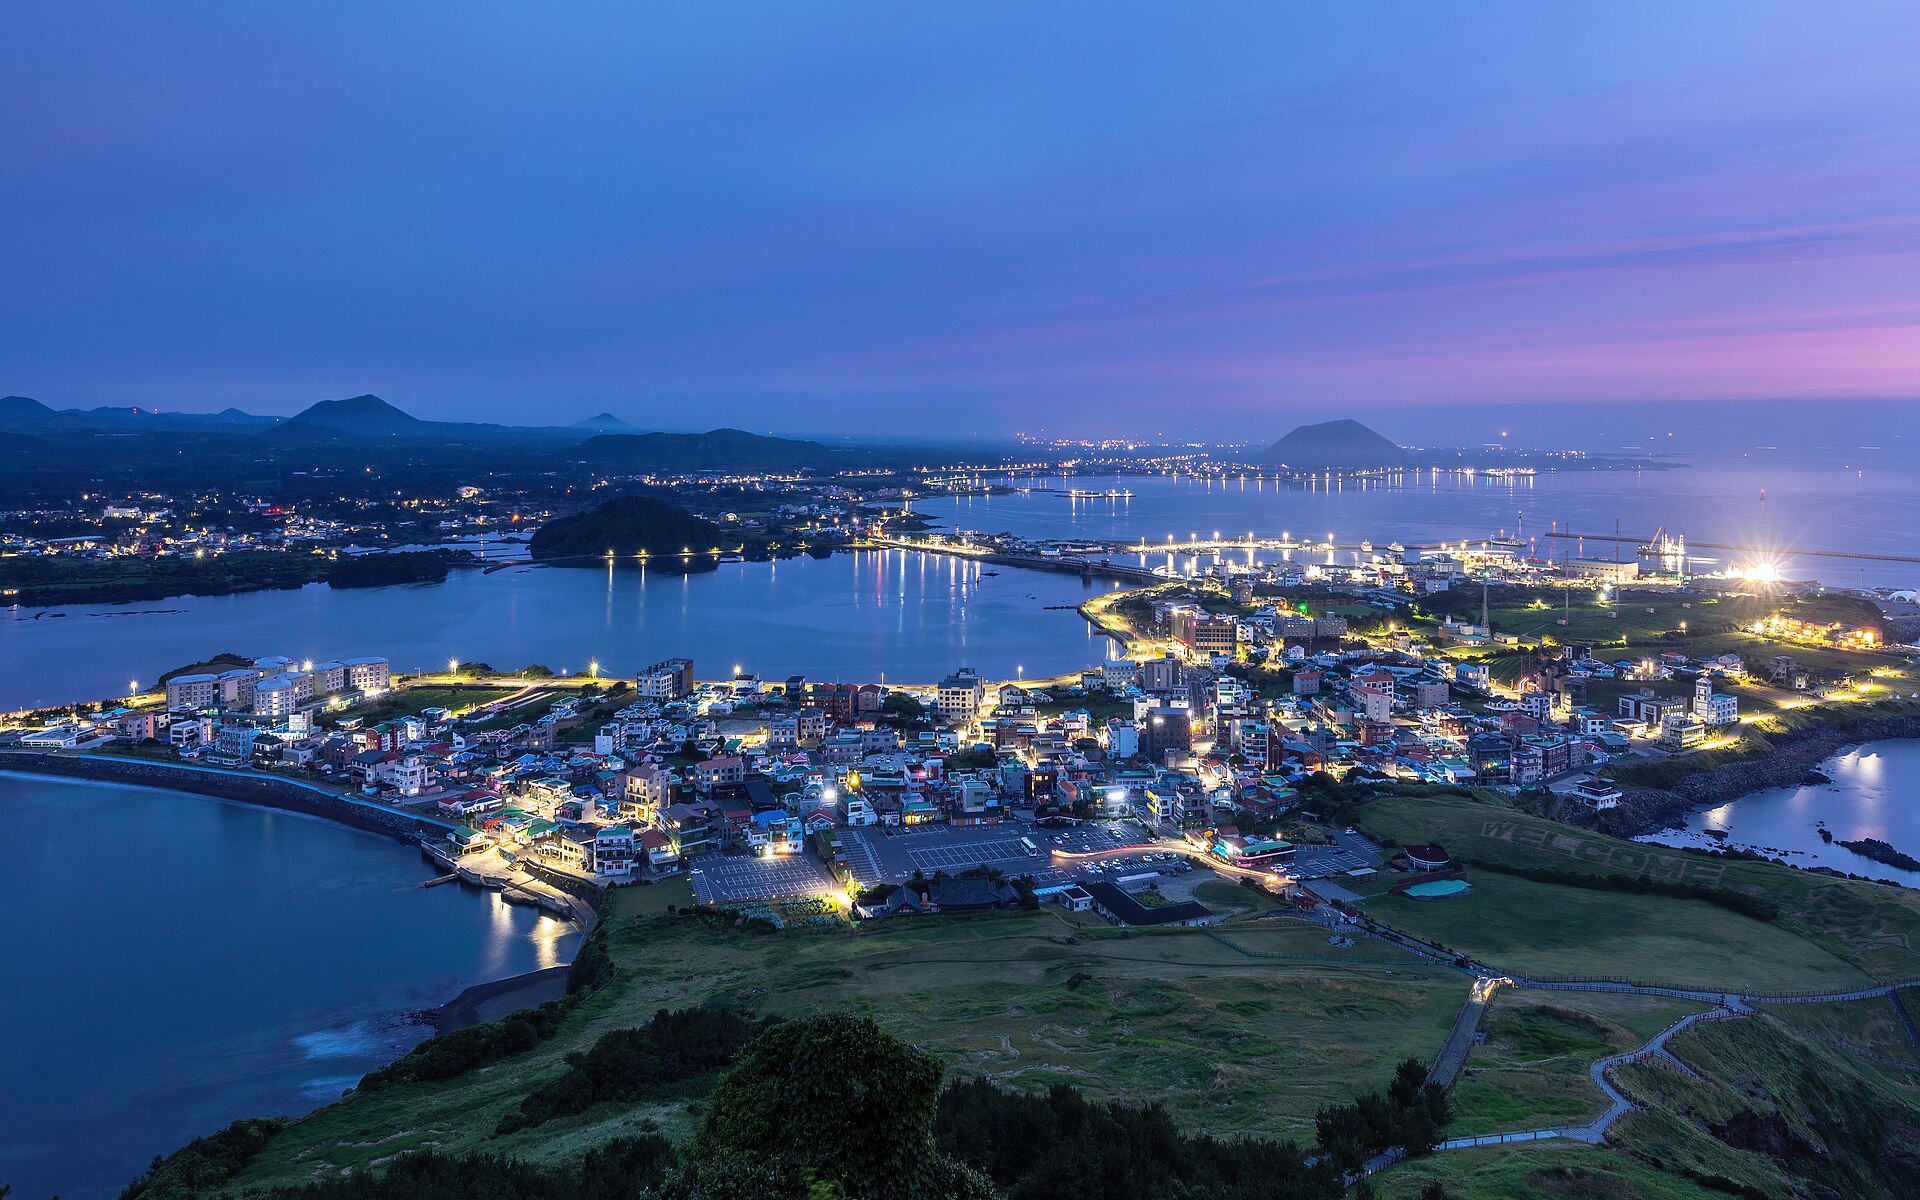

Landscape photography settings for exposure
Three controls set the exposure: aperture, shutter speed and ISO. Each has a side effect that your sources should name. Very small apertures soften the image through diffraction, as the focus section below explains. Long exposures raise a different problem. Canon Academy notes that long-exposure noise becomes more visible as exposures get longer, and especially at high ISO3.
I did not find a source for a stills camera that names a best ISO for landscapes, so I give no number. Instead, check your own manual for the lowest standard ISO. Starting there is my judgement, not a sourced rule, and you should raise ISO only when the light or your support forces you to.
Shooting RAW and adjusting white balance
Canon’s EOS 60D manual describes RAW as a kind of digital negative that keeps the sensor’s pixel data with minimal in-camera processing, so the file must be processed afterwards. Unlike JPEG, a RAW file keeps all the data from the camera’s 14-bit sensor, which Canon says gives smoother gradation and finer detail and allows larger exposure, contrast and saturation edits. White balance can also be changed after shooting4. In practice, that matters when the colour of the light changes quickly, as it does around twilight.
Reading the histogram and bracketing exposure
The histogram graphs how many pixels sit at each brightness level, from dark on the left to bright on the right. Canon’s support page for the EOS 7D calls content at the left edge crushed blacks and content at the right edge blown highlights, and says the middle range reproduces gradations5. The RGB display shows red, green and blue separately. At its right edge, a colour is saturated and has no gradation. Canon describes what the edges mean and does not prescribe an ideal shape, so use the graph to spot clipping, not to chase a particular curve.
When a scene has more contrast than one frame can hold, bracketing records several frames. Canon’s EOS R50 manual describes Auto Exposure Bracketing (AEB). The camera takes three shots, at standard, decreased and increased exposure, within a range of up to ±3 stops in 1/3-stop steps6. The same manual says AEB is unavailable with flash, bulb exposures, HDR mode, Multi Shot Noise Reduction and focus bracketing. Because the three frames are taken one after another, a tripod helps keep them aligned. That last point is my inference, not a statement from the manual. In addition, merging the frames needs software, and I did not read a source on merging, so this guide does not cover it.
Landscape photography settings for sharpness from front to back
Canon UK explains hyperfocal distance as the focus distance that gives the greatest depth of field for a given focal length and aperture. Focused there, everything from the near foreground to the horizon is acceptably sharp7.
A quick rule and an exact formula
The quick rule is to focus about one-third of the way into the scene, because depth of field extends further behind the focus point than in front of it. The exact method is to multiply the focal length by itself and divide by the circle of confusion times the f-number. Canon gives 0.019 mm as the circle of confusion for APS-C and 0.030 mm for full frame. For a 28 mm lens at f/16 on full frame, that gives roughly 1.6 m8. For this method, Canon also advises a tripod, manual focus and Live View magnification9.
Why f/22 is not the answer
Very small apertures cause diffraction, which softens the image. Canon suggests f/16 rather than f/22, and notes that f/11 may look sharper still. In addition, some cameras offer diffraction correction in the lens aberration settings10. Canon is a manufacturer, so test your own lens before trusting any single number.
Focus bracketing and stacking
Sometimes one frame cannot cover a scene from a close foreground to a distant ridge. In that case you can shoot several frames focused at different distances. Canon’s EOS R5 manual describes Focus Bracketing: you set 2 to 999 shots, focus on the near end of your range, and the camera shifts focus toward infinity until it has taken the set number of shots or reached the far end11.
For best results Canon advises an aperture of f/5.6–11. It also advises test shots to find a suitable focus increment, because larger apertures produce a wider shift. A tripod with a remote switch is recommended, and so is a wider angle of view, so that you can crop after compositing. The feature is unavailable when the lens focus mode switch is set to MF, and flickering light may cause uneven results12. The compositing itself happens in software, which this guide does not cover.
Landscape photography settings for filters
Circular polarizer
B&H explains that a circular polarizer reduces reflections and glare by filtering out polarized light, and that it works best at roughly 90° from the sun. Expect to lose about 1 to 3 stops, depending on the model. For that reason it is a poor choice in low light and sometimes calls for a tripod13. The effect is also uneven across the frame, especially with wide-angle lenses, where the sky can shift quickly from normal to dark in an unnatural way. Finally, B&H advises against using one when the sun is in the shot, such as at sunrise or sunset, because the extra glass can increase flare.
Neutral density filters
LEE describes its Big Stopper as a 10-stop neutral density filter, which reduces the light entering the lens by 10 stops. On its exposure table, a 1/30 s exposure becomes 30 s. LEE suggests it for motion blur in water, clouds and people, even in bright sun, and says it is designed to give minimal to zero vignetting with very wide-angle lenses14.
Landscape photography settings for tripods and long exposures
Canon’s EOS Rebel T8i manual describes mirror lock-up as a way to prevent the mechanical vibrations of the mirror, so-called mirror shock. Canon recommends it for super telephoto lenses and close-up photography. You press the shutter fully once to raise the mirror and a second time to take the picture, or you use the self-timer or a remote switch. If about 30 seconds pass after lock-up, the mirror lowers by itself15. The same page warns you never to point the camera at intense light sources such as the sun.
For exposures beyond 30 seconds, Canon Academy points to Bulb mode, which keeps the shutter open as long as the release is pressed. It recommends a remote release or the EOS Remote app to prevent camera shake. Multi-shot noise reduction takes a second, closed-shutter frame and subtracts it from the first, which doubles the exposure time16. As a result, a five-minute exposure with this option on takes about ten minutes, so plan for the light to change.
Landscape photography settings for moving water
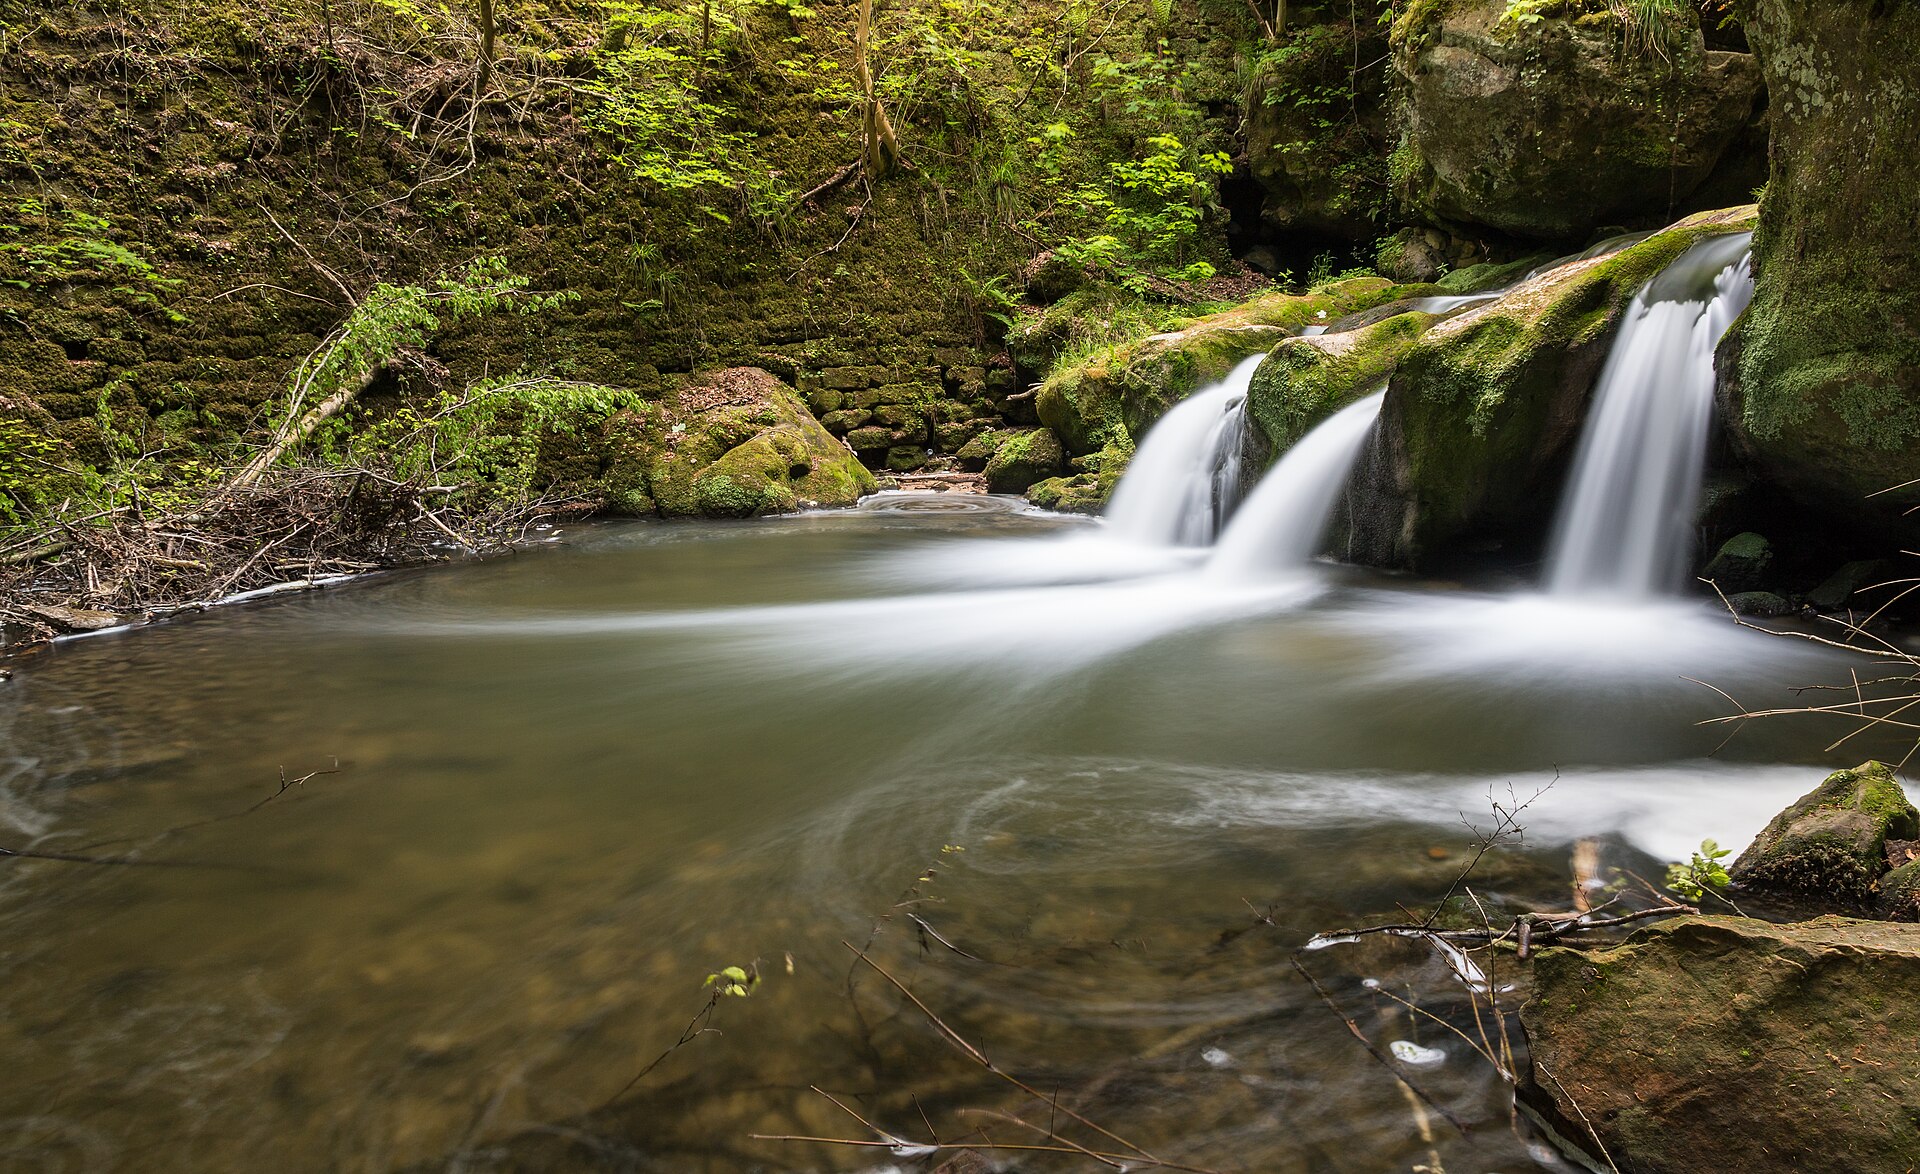
A slow shutter speed turns a waterfall into soft ribbons, as in the Luxembourg picture below. I did not find an authoritative source that gives shutter speeds for this effect. For that reason, this guide gives no table. Shoot a short series at different speeds on site, and keep the one that fits the mood you saw.

Landscape photography settings for fog and low cloud
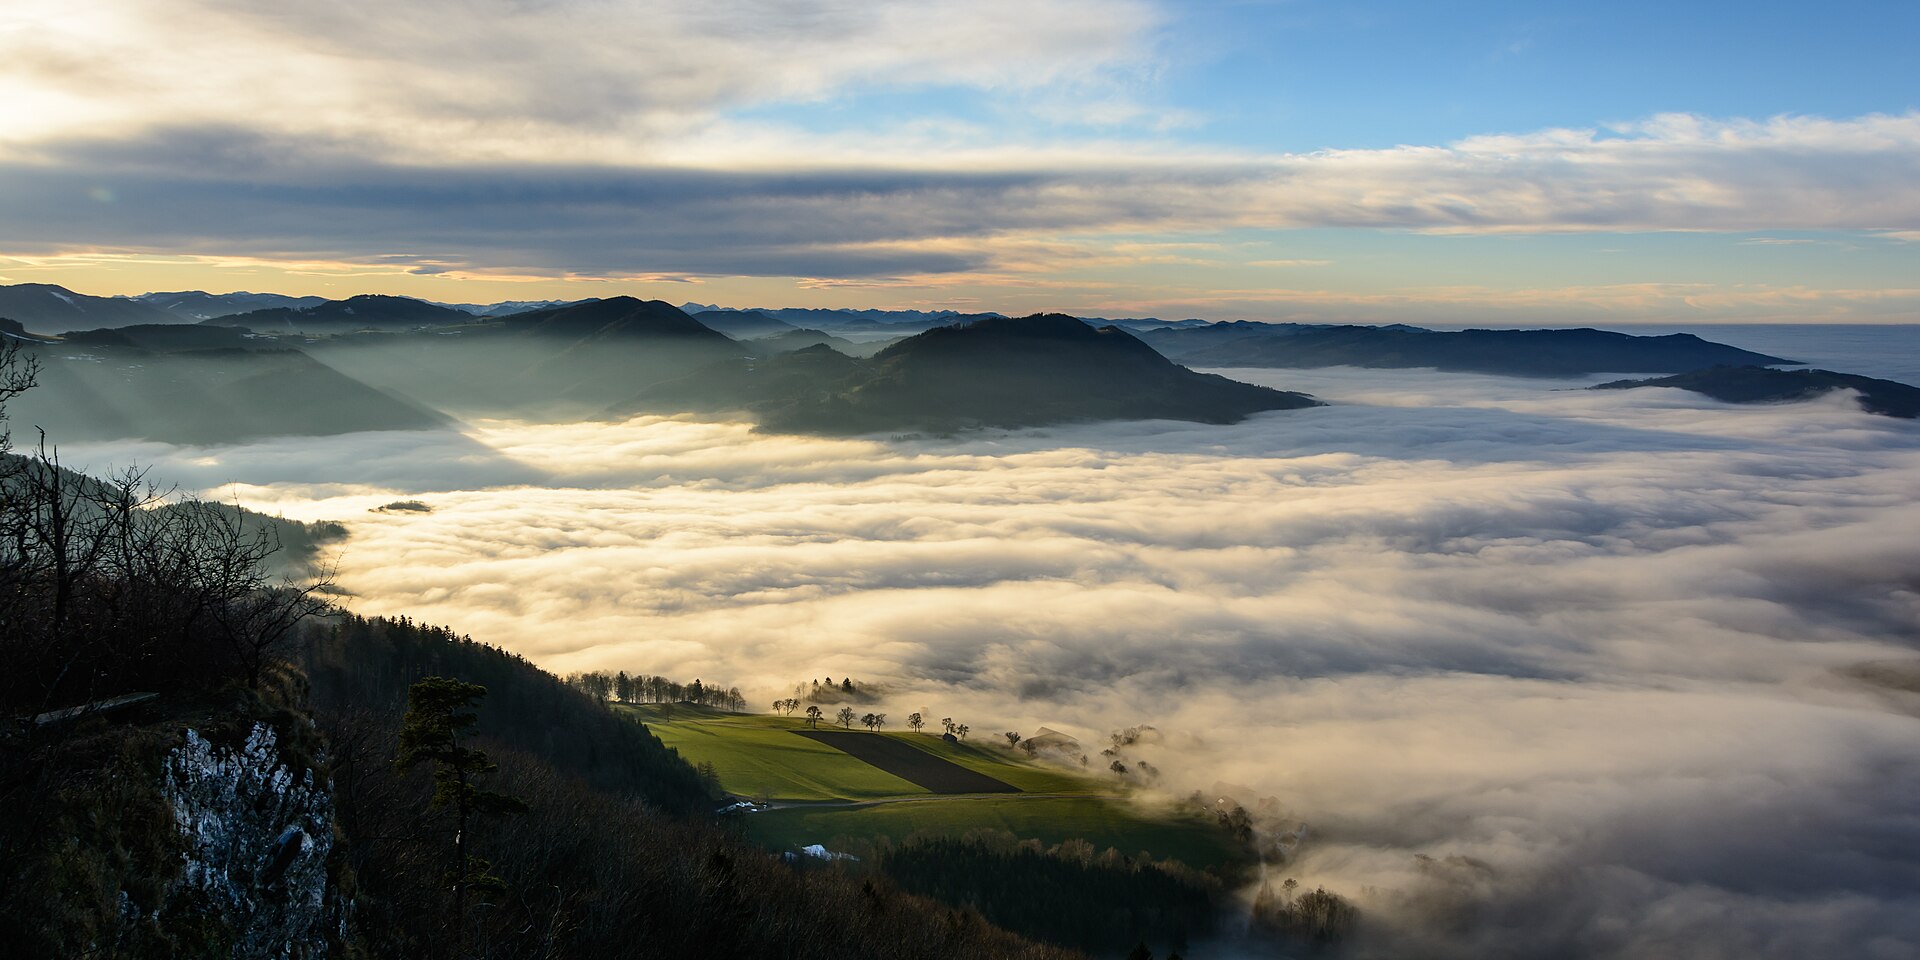
I did not find a primary source that gives exposure rules for fog, so I give none. Instead, look at how the valley below the Blassenstein in Austria reads as stacked planes of tone, and decide on site how much of that to keep.

Weather and safety
Many landscape photographers shoot in dramatic weather, and storms are dangerous. The National Weather Service advises seeking shelter as soon as you hear thunder, see lightning, or notice darkening skies and rising wind. Its 30/30 rule says a gap of 30 seconds or less between flash and thunder means the storm is close, so get inside, and stay there until 30 minutes after the last thunder17.
A completely enclosed building or a hard-topped metal vehicle is safe shelter. Carports, open garages and covered patios are not. Stay away from trees, open fields, beaches and tall metal objects18. In short, no picture is worth a lightning strike.
Ethics in the field
The Leave No Trace Center for Outdoor Ethics lists seven principles. They include planning ahead, staying on durable surfaces, leaving what you find, respecting wildlife and being considerate of other visitors19. Common field habits, such as stepping off the trail for a better foreground or crowding an animal for a closer frame, cut against these principles.
A second duty concerns honesty. NANPA states that photographers should disclose the field conditions of a nature image, because viewers usually assume it shows events that happened without human interference20. A 2019 study of nature photographers in northern Japan adds a warning. Photographers wanted scientifically credible images, yet that intent can be lost when the pictures circulate through stock libraries21.
Sharing locations
Leave No Trace’s social media guidance says geotagging is not opposed to its principles. Tagging a location can help others learn about a place, prepare for safety and know what to expect. Because viewers may not understand trip planning, the guidance recommends adding Leave No Trace information to the caption and encouraging further learning. It also suggests that images showing stewardship can encourage viewers to act the same way22. Still, other writers argue for withholding fragile locations. I did not review that debate, so this guide takes no side beyond the Leave No Trace position.
Debates around landscape photography settings
Two debates run through this guide. The first is credibility. Does a perfect sunrise image owe the viewer an account of how it was made? NANPA says yes for nature images, and the Japanese study shows why. The second is taste. James Stilgoe examined popular photography and scenery values in a 1984 article that I list for further reading23. Still, neither source settles how much editing is too much. That is a judgement you make and, ideally, disclose.
Frequently asked questions
Which landscape photography settings give sharp results?
Canon UK suggests f/16 rather than f/22 for depth of field, and notes that f/11 may look sharper still24. For a scene with a very close foreground, Canon’s focus bracketing advice is f/5.6–11. Test your lens, because diffraction depends on it.
Do I need a tripod?
Hyperfocal focusing calls for one, together with manual focus and Live View magnification, according to Canon UK25. The EOS R5 manual also recommends one for focus bracketing, and the EOS Rebel T8i manual for mirror lock-up. Before dawn, a tripod is the practical way to keep the camera steady in dim light.
Should I shoot RAW?
Canon’s EOS 60D manual says a RAW file keeps all the sensor data and allows larger exposure, contrast and saturation edits, and that white balance can be changed after shooting26.
How do I keep everything sharp from the foreground to the horizon?
Use the hyperfocal method for one frame, or Canon’s focus bracketing for several frames when the foreground is very close. Both are described above.
When should I stop shooting in a storm?
Stop when you hear thunder, and move to a safe shelter if the gap between flash and thunder is 30 seconds or less27.
Further reading
- Ohara, Yamanaka and Trencher, “Understanding Nature through Photography”, Environmental Communication 13(8), 2019, pp. 1053–1068 (abstract read).
- Stilgoe, “Popular Photography, Scenery Values, and Visual Assessment”, Landscape Journal 3(2), 1984, pp. 111–122 (record only).
- Stathatos, “A Conditional Presence: Women Landscape Photographers in Europe”, in Shifting Horizons, Routledge, 2021, pp. 104–131 (record only).
- Hore, Visions of Nature, University of California Press, 2022 (record only).
- Canon UK, “Hyperfocal focusing”, 2024.
- Canon user manuals for the EOS R50 (AEB), EOS R5 (Focus Bracketing), EOS Rebel T8i (Mirror Lockup) and EOS 60D (RAW).
- National Weather Service Sioux Falls, “Twilight”; National Weather Service, lightning safety statement, 15 June 2006.
- NANPA, ethics page; National Park Service, “Leave No Trace: Seven Principles”; Leave No Trace Center, “Social Media Guidance”.
Sources and limits. I removed the generic advice of the earlier version that I could not source. I found no source for a best ISO, for shutter speeds, or for fog exposure, so the article gives none. Canon manuals describe specific models, and settings differ on yours. LEE and B&H sell filters, and their figures are manufacturer or retailer statements. The 2006 NWS statement may have been revised. I read the NANPA statement, the NPS and Leave No Trace pages and the journal abstracts, but not the full texts.
- The page also notes that its twilight diagram is not drawn to scale. (NWS Sioux Falls)
- Civil twilight lasts until sunrise in the morning and starts at sunset in the evening. (NWS Sioux Falls)
- Canon Academy, page on long exposures with Bulb mode; the page shows no publication date. (Canon Academy)
- Canon EOS 60D manual, RAW photography page, hosted on ManualsLib. Other camera models may differ. (Canon manual)
- Canon support page, “How do I read a histogram? (EOS 7D)”. (Canon Singapore support)
- Canon EOS R50 manual, “Auto Exposure Bracketing (AEB)”. The setting varies by model, so check your own manual. (Canon EOS R50 manual)
- Canon UK, first published 5 August 2024, last updated 3 September 2024. (Canon UK, 2024)
- Smartphone apps can do the same calculation. (Canon UK, 2024)
- Steps listed by Canon UK. (Canon UK, 2024)
- Same Canon UK page. (Canon UK, 2024)
- Canon EOS R5 manual, “Focus Bracketing”. Other models differ. (Canon EOS R5 manual)
- Same Canon manual page. (Canon EOS R5 manual)
- B&H Explora, “Why and How to Use a Circular Polarizer Filter”. The page shows no author or date in the text I read, and B&H sells filters. (B&H Explora)
- LEE Filters, Big Stopper product page. This is a manufacturer’s claim; I did not find an independent test. (LEE Filters)
- Canon EOS Rebel T8i / EOS 850D manual, “Mirror Lockup”. It applies to cameras with a mirror; I did not check mirrorless models. (Canon T8i manual)
- Canon Academy, Bulb mode page. Its examples are architecture and travel scenes, not landscapes. (Canon Academy)
- NWS public statement of 15 June 2006. It may have been revised, so check current guidance. (NWS, 2006)
- Same NWS statement. (NWS, 2006)
- The principles build on mid-1980s work by US federal land agencies. (NPS)
- From the NANPA ethics page; I did not read the full 2018 PDF of its field practices. (NANPA)
- Ohara, Yamanaka and Trencher, Environmental Communication 13(8), 2019; I read the abstract only. (Hokkaido repository)
- Leave No Trace Center, “Social Media Guidance”; the page shows no date. (Leave No Trace)
- Stilgoe, Landscape Journal 3(2), pp. 111–122; I know the title only. (DOI)
- Canon UK hyperfocal focusing page. (Canon UK, 2024)
- Same page. (Canon UK, 2024)
- Canon EOS 60D manual, RAW page. (Canon manual)
- NWS statement of 2006. (NWS, 2006)